How to Make Smooth Left & Right Turns Without Oversteering
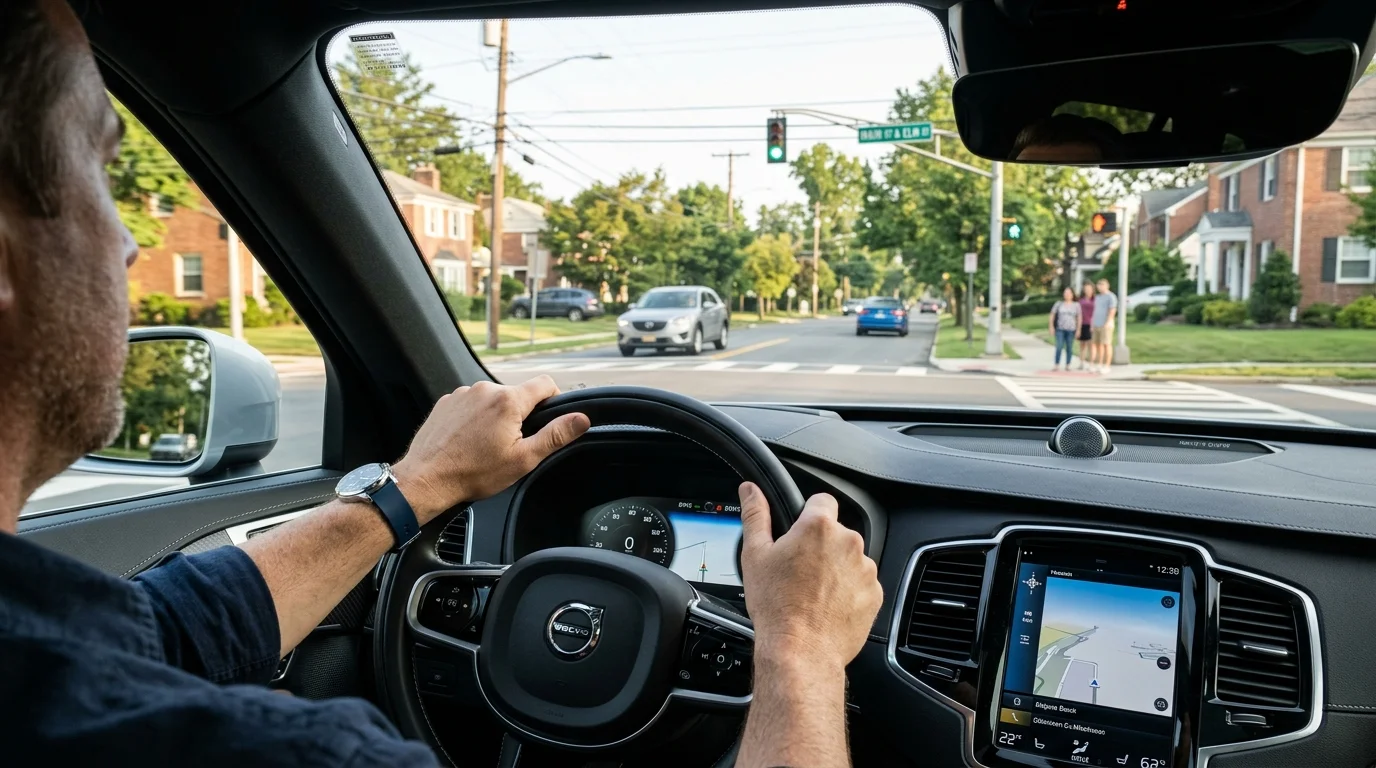
Braking in a straight line before the turn and accelerating gently through the apex creates smooth cornering.
Quick Answer & Key Takeaways
Making smooth, professional 90-degree left and right turns requires proper speed modulation and steering geometry: 1) BRAKE IN A STRAIGHT LINE BEFORE THE TURN: Complete 100% of your deceleration while traveling in a straight line (slowing to 10–12 MPH) BEFORE turning the steering wheel. Braking mid-turn causes severe body roll and jerky oversteering. 2) RIGHT TURNS: Stay within 3 to 5 feet of the right curb, begin turning the wheel when your front bumper aligns with the curb corner curve, and finish in the rightmost lane. 3) LEFT TURNS: Drive halfway into the intersection before turning ('square off' the turn) to avoid cutting across opposing double yellow lines. 4) APEX ACCELERATION: Apply smooth throttle at the apex to transfer weight rearward and let the steering wheel slide smoothly back to center.
- Brake Before You Turn: Decelerate to 10–12 MPH in a straight line before initiating steering input.
- Right Turn Pivot Point: Turn the steering wheel when your front bumper is even with the corner radius.
- Left Turn Geometry: Pull straight into the intersection to the midpoint of the cross street before initiating the turn.
- Finish in the Correct Lane: Right turns must finish in the rightmost lane; left turns must enter the leftmost lane.
The Physics of Turning: Longitudinal Weight Transfer & Corner Entry
When a vehicle changes direction, centrifugal force pushes the vehicle body outward while friction between the tire tread and asphalt pulls the chassis inward.
If a driver brakes while simultaneously turning the steering wheel, excessive weight transfers onto the outside front tire, causing jerky cornering, passenger discomfort, and severe oversteer or understeer skids.
Professional driving instructors teach the "Brake-Turn-Accelerate" sequence to stabilize the chassis throughout the turn.
The 4-Step Turning Sequence: Signal, Brake, Scan & Accelerate
Every smooth intersection turn follows four distinct phases:
- Signal 100 Feet in Advance: Activate your turn signal at least 100 continuous feet prior to the turn.
- Straight-Line Deceleration: Apply progressive brake pressure while the vehicle is still traveling straight, reducing entry speed to 10 to 12 MPH.
- Scan the Crosswalk & Apex: Scan left, center, right, and over your shoulder for pedestrians, cyclists in the bike lane, and oncoming traffic.
- Apex Throttle Roll-On: Release the brake at the corner apex and apply gentle accelerator pressure (10% to 15% throttle) to stabilize the chassis as the wheels straighten.
Mastering Right Turns: Avoiding the "Wide Turn" Auto-Fail Trap
Right turns have a smaller turning radius (typically 15 to 25 feet) than left turns:
- The Pivot Point: Do not turn the steering wheel too early (or your rear tire will clip the concrete curb). Begin turning when your front bumper aligns with the curvature point of the curb.
- Avoid Swinging Wide (The "Buttonhook"): Never swing your vehicle out to the left before making a right turn. DMV examiners mark swinging wide as an immediate critical error because it encroaches into adjacent lanes.
- Finish in the Rightmost Lane: Complete your turn into the lane closest to the right curb.
Mastering Left Turns: "Squaring Off" to Protect Opposing Lanes
Left turns have a wider turning radius but cross opposing traffic streams:
- "Square Off" the Turn: Drive straight out into the intersection until your front wheels reach the center line of the cross street before initiating the turn.
- Avoid Cutting the Corner: Turning too early cuts across the opposing left-turn lane, endangering waiting oncoming vehicles.
- Keep Wheels Pointed Straight: When waiting for oncoming traffic during an unprotected left turn, keep front tires pointed straight ahead. If rear-ended, your car will be pushed forward rather than into oncoming traffic.
Steering Mechanics: Hand-Over-Hand vs. Controlled Slippage
Steering input must be controlled and deliberate:
- Use Hand-Over-Hand or Push-Pull steering to pull the wheel into the turn smoothly.
- As you pass the apex, loosen your grip slightly to allow the vehicle's natural caster angle to return the wheel smoothly to center while your palms maintain light contact.
- Never allow the steering wheel to spin freely without hand control.
DMV Road Test Turning Deduction & Evaluation Table
| Turning Phase | Correct Technique | Common Mistake | DMV Scoring Impact |
|---|---|---|---|
| Approach & Speed | Brake straight to 10–12 MPH | Braking hard while turning wheel | 1-Point Minor Deduction (Unsmooth braking) |
| Right Turn Path | Tight arc staying in right lane | Swinging wide into opposing lane | Critical Error (Lane Encroachment) |
| Left Turn Path | Square turn into center street | Cutting corner across double yellow | Critical Error (Strikes limit line) |
| Curb Contact | 3–5 feet clearance from curb | Rear tire strikes concrete curb | AUTOMATIC TEST FAILURE |
Interactive Knowledge Check
Question: What is the most effective technique for executing a smooth 90-degree turn without causing body roll or jerky steering?
Authoritative Sources & Regulatory References
Content and statutory guidelines in this guide are verified against official state vehicle codes, federal transportation standards, and authoritative regulatory documentation:
- AASHTOAASHTO Intersection Geometric Design & Turning Radius Guidelines(American Association of State Highway and Transportation Officials)
- California DMVCalifornia DMV Driving Performance Evaluation: Turning and Steering Criteria (DL 385)(California Department of Motor Vehicles)
- SAE InternationalVehicle Dynamics: Cornering Force, Slip Angle, and Weight Distribution(SAE International Automotive Engineering)
88% of people found this article helpful.
Click a star to add your vote
146 votes • average 4.44 out of 5
Official 2026 DMV Practice Tests by State
Select your state to practice real exam questions based on the latest 2026 driver handbook.
Ready to Pass the DMV Test on Your First Try?
Practice real 2026 DMV questions with instant answer explanations, simulated timers, and pass-guarantee study guides.
Start Free Practice Test