How to Do a 3-Point Turn (K-Turn) on the DMV Road Test: Step-by-Step Guide
A 3-point turn reverses vehicle direction on narrow streets using four deliberate moves: pull over right, turn left across, reverse right, and drive forward.
Quick Answer & Key Takeaways
A 3-Point Turn (or K-Turn) reverses your car's direction on a narrow street where a U-turn is impossible: 1) Signal right, pull over parallel to the right curb, and stop. 2) Signal left, perform a 360-degree traffic and blind spot check, and turn your steering wheel hard left to glide across the road within 6–12 inches of the opposite curb. 3) Shift into Reverse, turn the wheel hard right, look over both shoulders (do not rely solely on backup cameras), and back up across the street. 4) Shift into Drive, check traffic, and pull forward into your new lane of travel.
- Signal at every stage: You must signal right to pull over, and signal left before cutting across the road.
- Turn the wheel while in motion: Dry steering (turning wheels while stationary) is penalized on DMV scorecards.
- 360-degree visual scans: You must physically turn your head to check left and right blind spots before every single forward and reverse movement.
- Never strike the curb: Bumping or mounting either curb is an automatic driving test disqualification.
What Is a 3-Point Turn (K-Turn)?
A 3-point turn (also known as a Y-turn, K-turn, or turnabout) is a standard driving maneuver used to turn a vehicle 180 degrees on a narrow roadway where the street width is insufficient for a single continuous U-turn.
Alongside parallel parking, the 3-point turn is one of the most closely scrutinized skills on state DMV behind-the-wheel exams. Examiners evaluate whether you can maintain control of your vehicle, execute precise 360-degree visual checks, and yield to oncoming traffic without touching curbs.
Step-by-Step Execution Guide for DMV Exams
When your DMV examiner says, "Please pull over to the right curb and perform a 3-point turn when safe," follow this four-phase sequence:
Phase 1: Pull Over Right & Establish Your Baseline
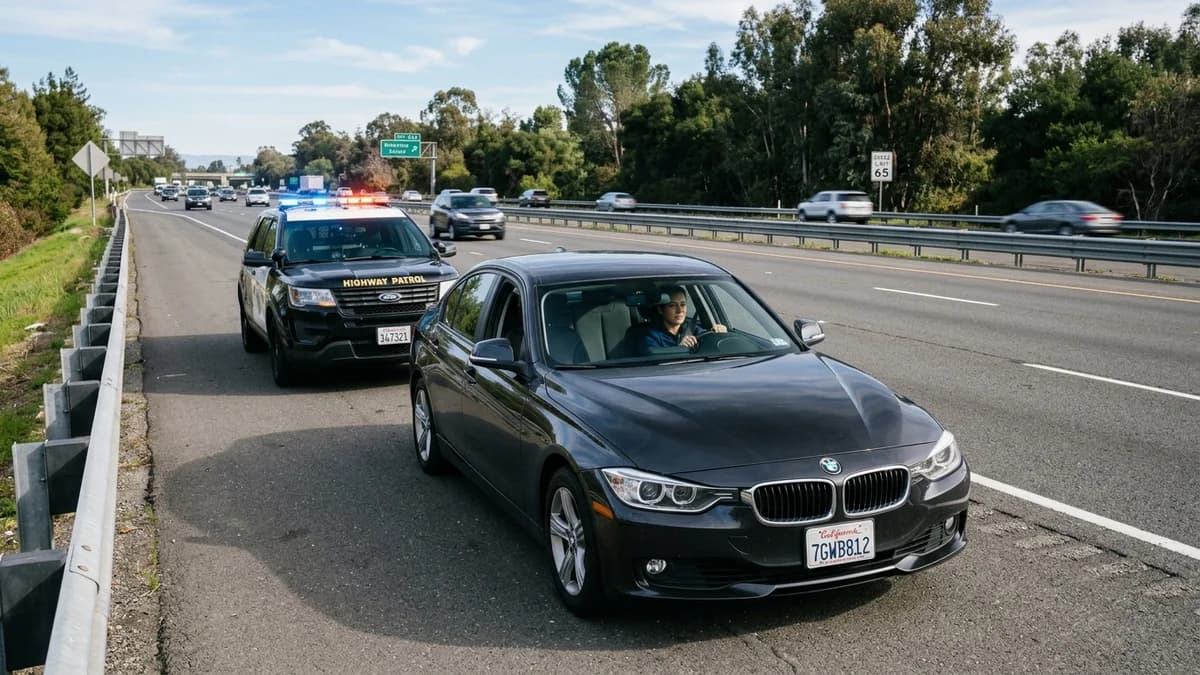
Before you can initiate the turn, you must park your vehicle safely along the right curb following standard roadside pull-over procedures:
- Activate your right turn signal.
- Check your rearview mirror, right side mirror, and glance over your right shoulder into your blind spot.
- Smoothly steer toward the curb, coming to a complete stop 6 to 12 inches away from the curbline.
Phase 2: Turn Hard Left Across the Street
This is Point 1 of the maneuver:
- Activate your left turn signal.
- Perform a full 360-degree scan: look left, ahead, right, behind, and check your left blind spot. If any vehicles, cyclists, or pedestrians are approaching in either direction, wait until they pass.
- Release the brake and begin rolling forward slowly while rapidly turning your steering wheel all the way to the hard left lock.
- Cross the roadway at a perpendicular angle, stopping approximately 12 inches before the opposite curb. Do not strike the curb.
Phase 3: Reverse Right & 360° Scan
This is Point 2 of the maneuver:
- Shift the transmission into Reverse (R).
- Activate your right turn signal (or maintain hazards if required by local state testing manual).
- Perform another complete 360-degree head check. Place your right hand on the back of the passenger seat and look out the rear window.
- Begin rolling backward slowly while turning the steering wheel all the way to the hard right lock.
- Back up across the street until your vehicle is centered at a 45-degree angle in the roadway with ample room to drive forward, stopping before the opposite curbline.
Phase 4: Shift to Drive & Complete the Turn
This is Point 3 of the maneuver:
- Shift the transmission into Drive (D).
- Activate your left turn signal.
- Check both directions of cross-traffic one final time.
- Accelerate smoothly forward, straightening your wheels into the right lane of travel and reaching normal residential speed.
What DMV Examiners Deduct Points For
Striking or Mounting the Curb (Automatic Test Failure)
Under DMV road test criteria, touching or jumping a curb with any tire instantly ends the examination. Stop 12 inches away from the curb rather than attempting to squeeze every inch of pavement.
Failing to Look Over Your Shoulder in Reverse (-2 to -4 Points)
Relying strictly on your digital dashboard backup camera without physically turning your head to scan rear blind spots is an automatic point deduction across all 50 states.
Forgetting Turn Signals Between Shifts (-2 Points per omission)
You must signal right when pulling over, signal left before turning across, and signal right when reversing.
Interactive Knowledge Check
Question: While executing a 3-point turn on your DMV road test, what should you do when shifting into Reverse?
Authoritative Sources & Regulatory References
Content and statutory guidelines in this guide are verified against official state vehicle codes, federal transportation standards, and authoritative regulatory documentation:
- California DMVCalifornia DMV Driving Performance Evaluation Scoring Criteria(State of California Department of Motor Vehicles)
- NY DMVNew York Driver’s Manual: Chapter 8 - Three-Point Turns(New York State Department of Motor Vehicles)
- AAMVAModel Non-Commercial Driver Testing Standards(American Association of Motor Vehicle Administrators)
96% of people found this article helpful.
Click a star to add your vote
166 votes • average 4.83 out of 5
Official 2026 DMV Practice Tests by State
Select your state to practice real exam questions based on the latest 2026 driver handbook.
Ready to Pass the DMV Test on Your First Try?
Practice real 2026 DMV questions with instant answer explanations, simulated timers, and pass-guarantee study guides.
Start Free Practice TestRecommended Driver Guides
How to Parallel Park in 3 Easy Steps (With Diagrams & Reference Points)

The Top 10 Automatic Fails on the DMV Driving Road Test